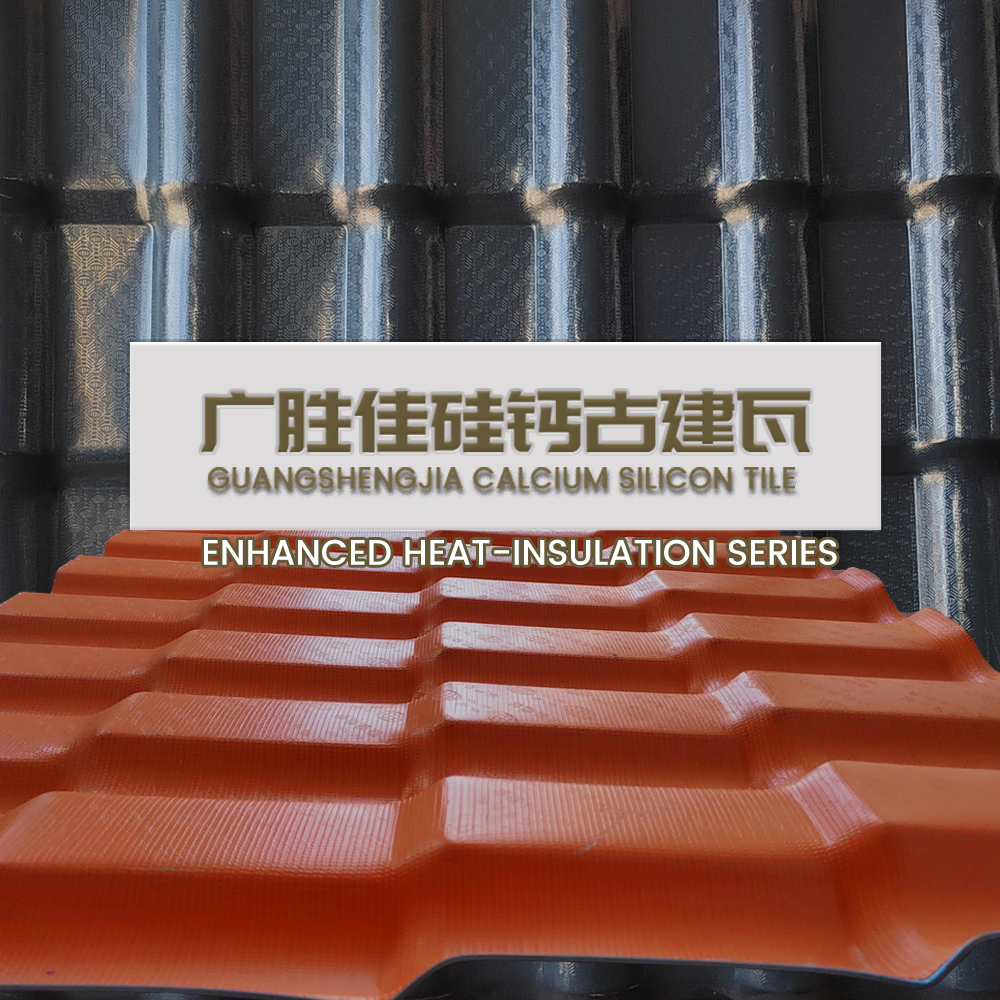
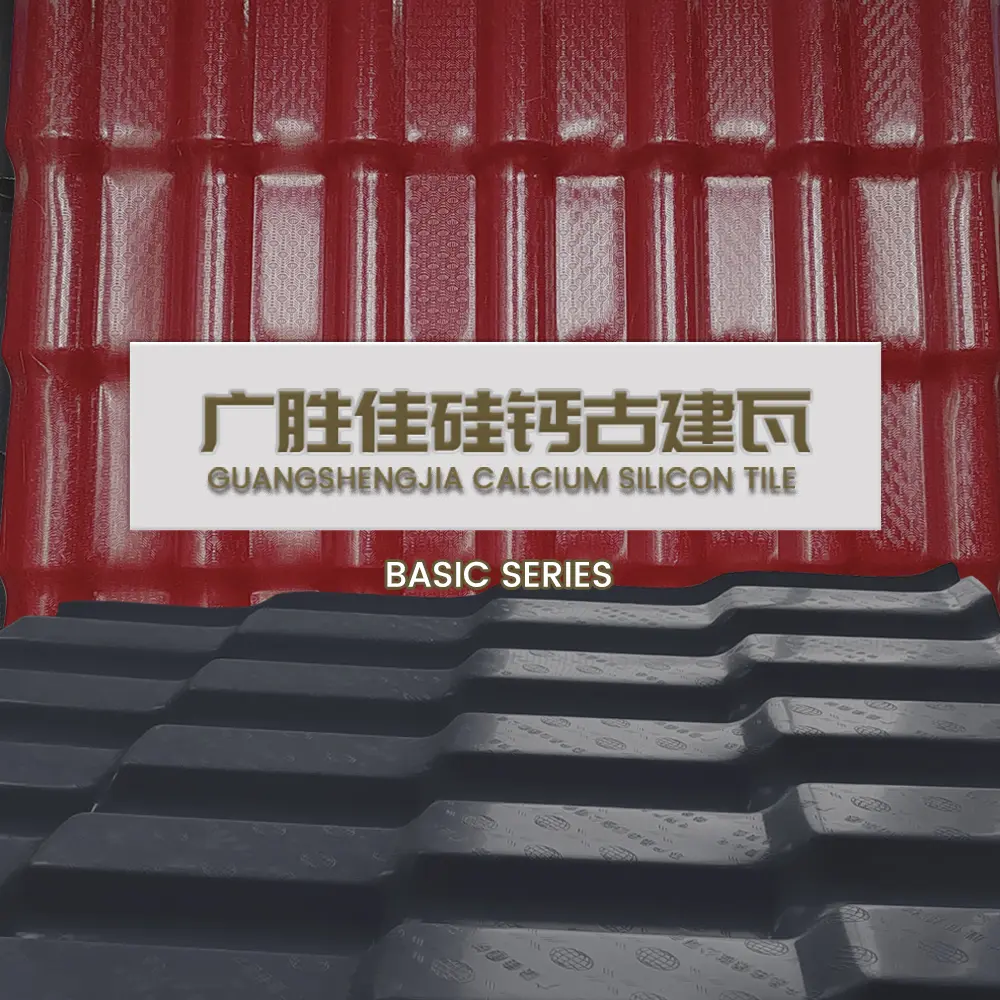
Calcium Silicon Series

01


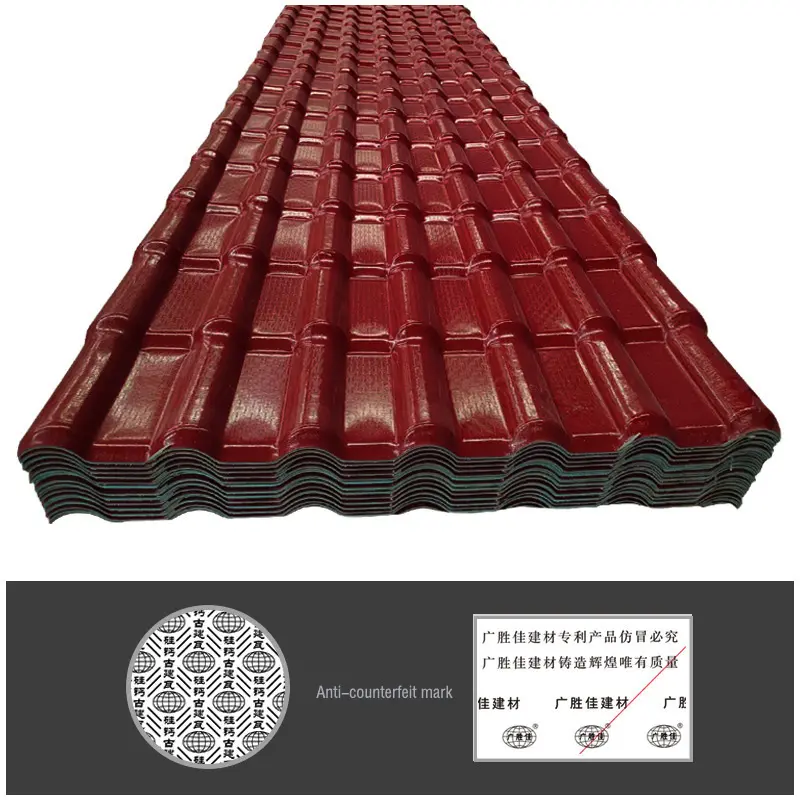


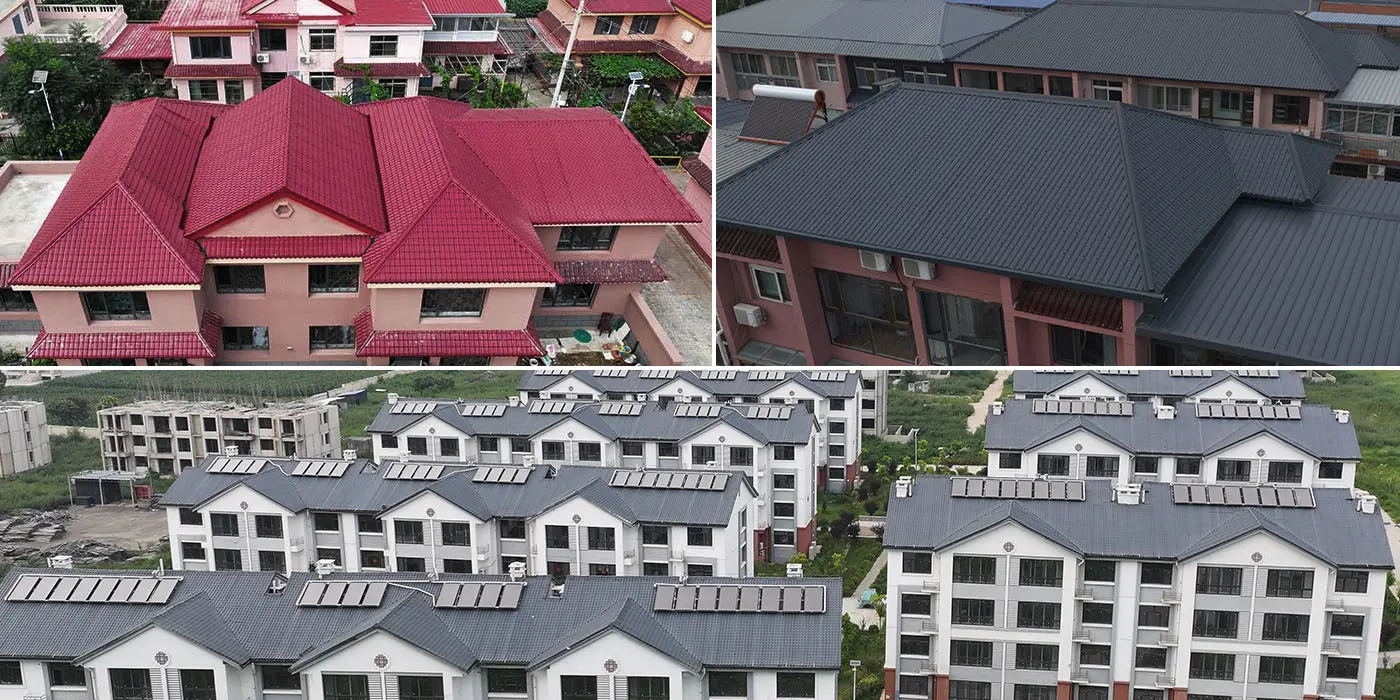
New Generation Composite Material roofing tile,Multiple layer Co-extrusted Plastic ASA/PMMA Products for house roof
Specification
|
Prodcut Name |
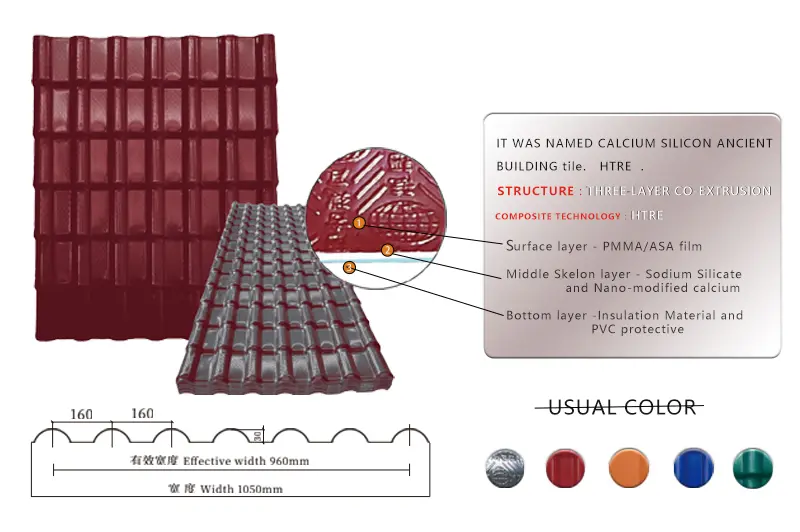
Calcium Silicon Ancient Building Tile |
|
Core Material |
Sodium silicate+Nano modified calcium Carbonate +PMMA/ASA film |
|
Surface |
PMMA film coated,embossed with special logo |
|
Width |
1050mm (Effective size 960mm) |
|
Weight |
3.5kg - 5.5kg / sqm |
|
Pitch |
220mm |
|
Wave height |
30mm |
|
Thickness |
2.0mm \ 2.2mm \2.5mm \3.0mm |
|
Color |
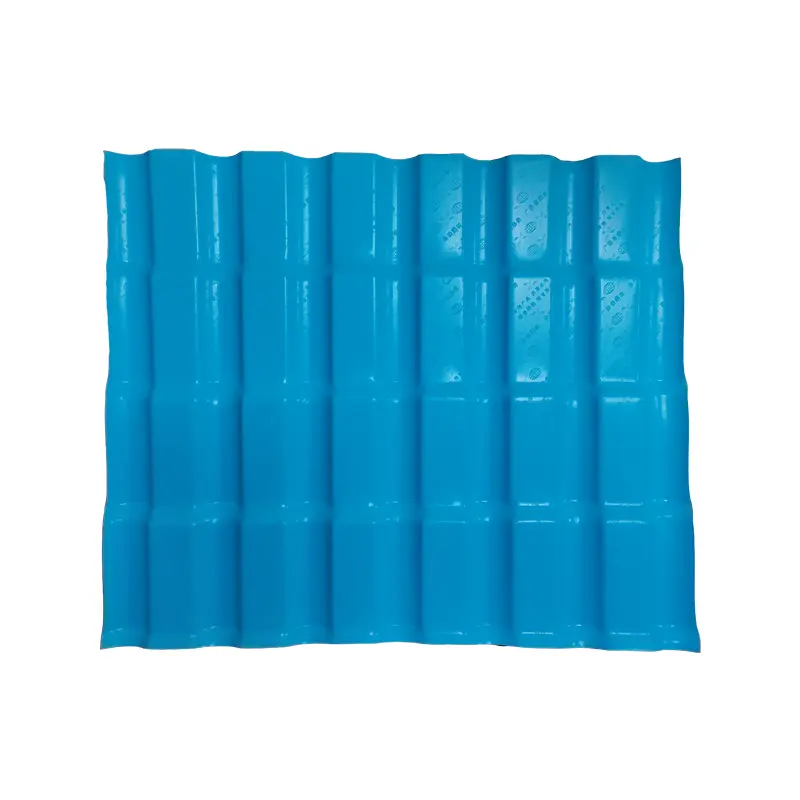
Grey, Red, Orange, Blue |
|
Brand logo |
GUANG SHENG JIA |
|
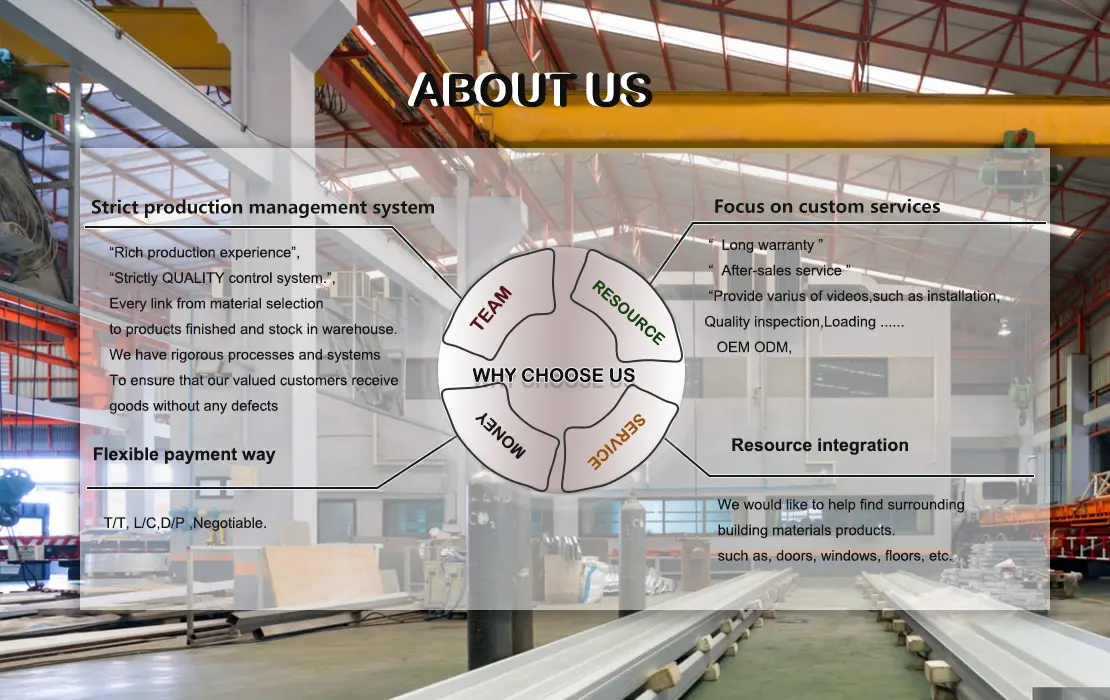
Service |
Total solution for project \ online technical support |
|
MOQ |
200SQM |
|
Life span |
30 - 50 years |
|
Application |
Villas, bungalows, community buildings, flat to slope projects and so on |
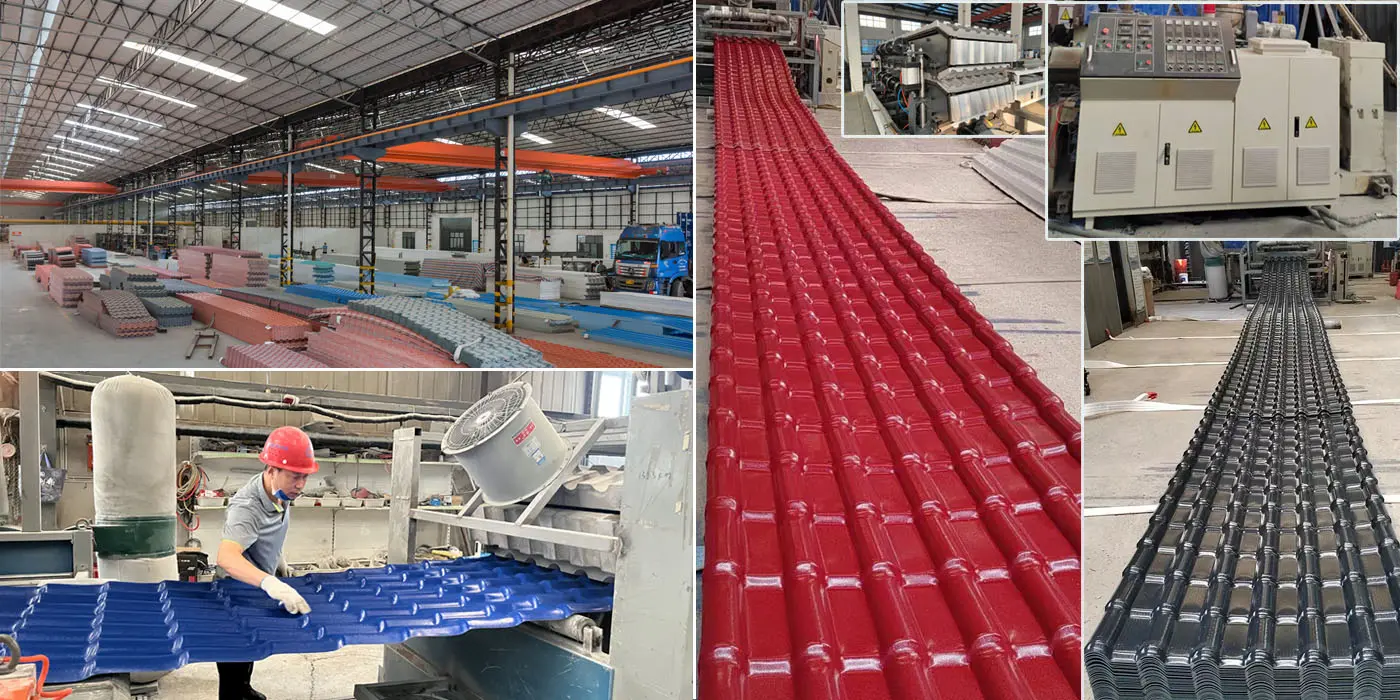
Product Description
We designed this product with 3 layers Co-extrusted. THE SURFACE LAYER IS THE PROTECTED LAYER, THE MIDDLE LAYER IS THE CORE SKELETON LAYER,THE BOTTOM LAYER IS THE ENHANCED PERFORMANCE LAYER .
The surface layer PMMA film have many of advantaces,such as good weather resistance 、 strongly physical and mechanical properties. It is covered on the surface of the tile to resist various invasions such as ultraviolet rays, wind and acid, alkali and salt substances in the natural environment, and enhance the structural stability the tile under the environment of frequent alternation of high and low temperatures from -40° to 80°. And the fading rate is very low.
The middle core skeleton layer is made of sodium silicate and nano-modified calcium. Sodium silicate has good adhesion, which makes the tiles has good tensile strength and toughnes. Nano-modified calcium has better plasticizing effect ,and less impurities, which effectively improves the rigidity, toughness, finish and bending strength of the tiles,and improves tiles processing performance and dimensional stability.
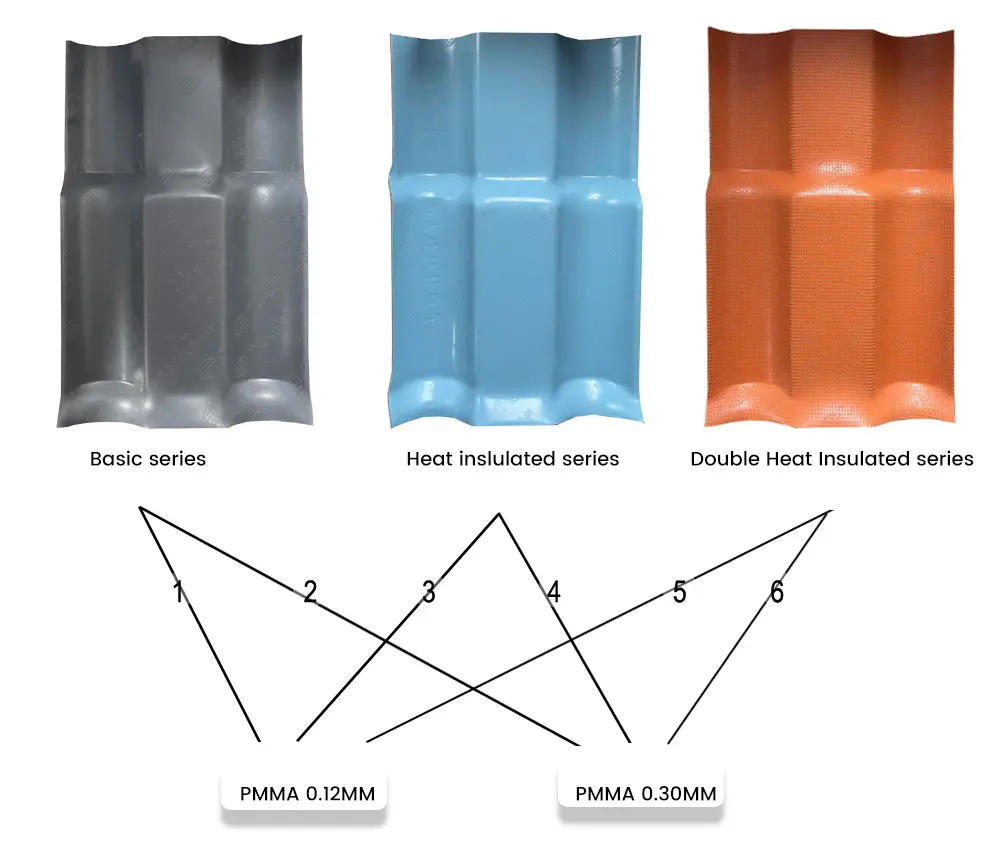
The bottom layer is A LITTLE DIFFERENT DUE TO DIFFERENT SERIES PRODUCTS.
THE BASIC SERIES PRODUCDTS,it is added with the toughness-enhancing materials,
THE HEAT-INSULATED SERIES,this layer is added with thermal insulation.
THE ENHANCED HEAT-INSULATED SERIES, the PVC+FIBERGLASS+PVC “sandwich layer is coated as another heat-insulated layer.
The Comprehensive performance of the producdt is enhanced successively.
Classification
Key features & benefits
1. Ultimate Durability
- Weather Resistance: Withstands extreme temperatures (-40°C to 80°C), heavy rain, hail, and UV radiation without cracking, fading, or warping.
- Corrosion & Chemical Resistance: Immune to rust, mold, acid rain, and salt spray, ideal for coastal and industrial areas.
- Impact Resistance: Reinforced structure absorbs shocks, ensuring longevity even in storm-prone regions.
2. Lightweight & Easy Installation
- 1/3 the weight of traditional clay or concrete tiles, reducing structural load and installation time.
- Modular design with interlocking systems allows for quick, tool-free assembly on various roof slopes.
3. Eco-Friendly & Energy-Efficient
- Weather Resistance: Withstands extreme temperatures (-40°C to 80°C), heavy rain, hail, and UV radiation without cracking, fading, or warping.
- Reflective surface reduces heat absorption, lowering indoor cooling costs by up to 30%.
4. Aesthetic Versatility
- Available in multiple colors (terracotta, slate gray, charcoal, etc.) and textures to mimic natural clay, wood, or stone.
- Sleek, uniform finish enhances curb appeal for modern and traditional architecture alike.
5. Low Maintenance
- Non-porous surface prevents dirt accumulation; easily cleaned with water.
- No need for periodic painting or sealing.
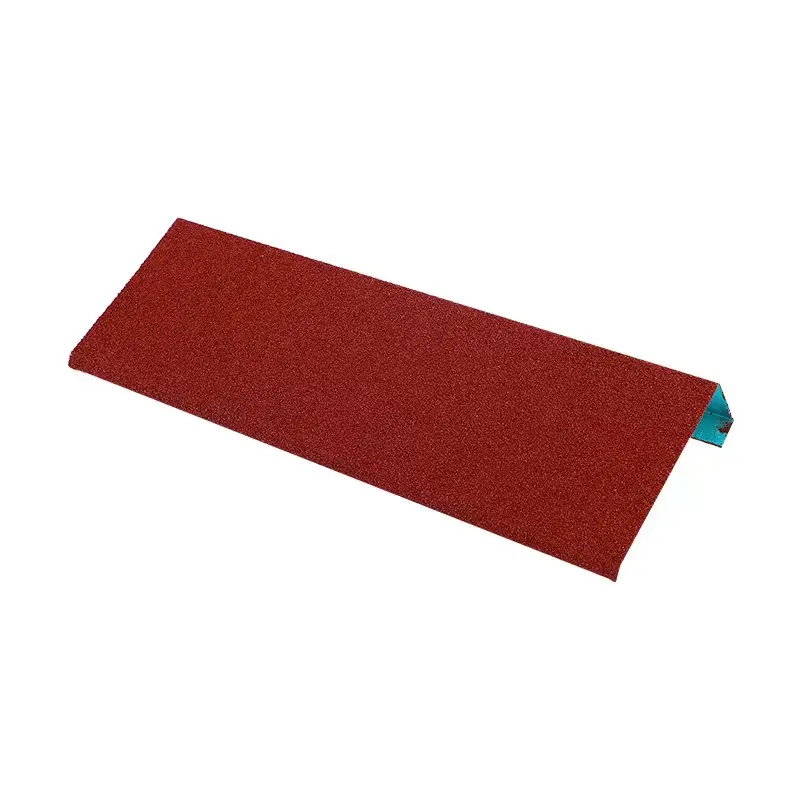
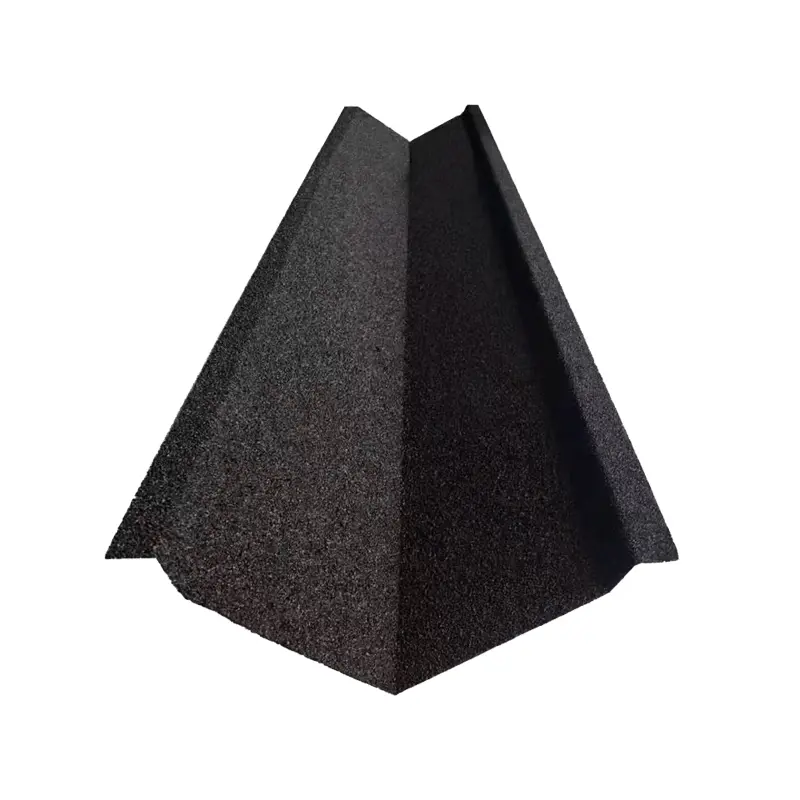
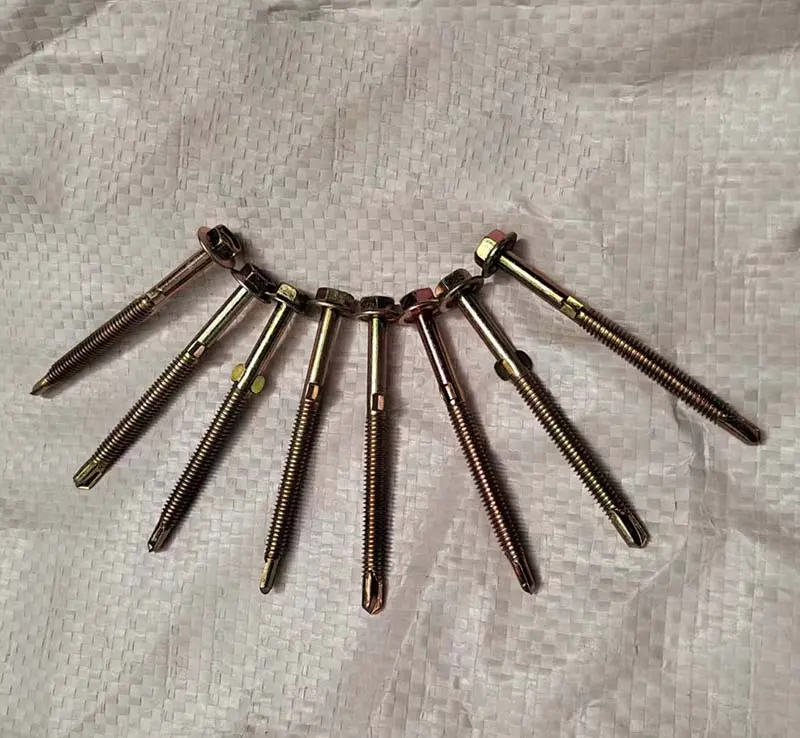
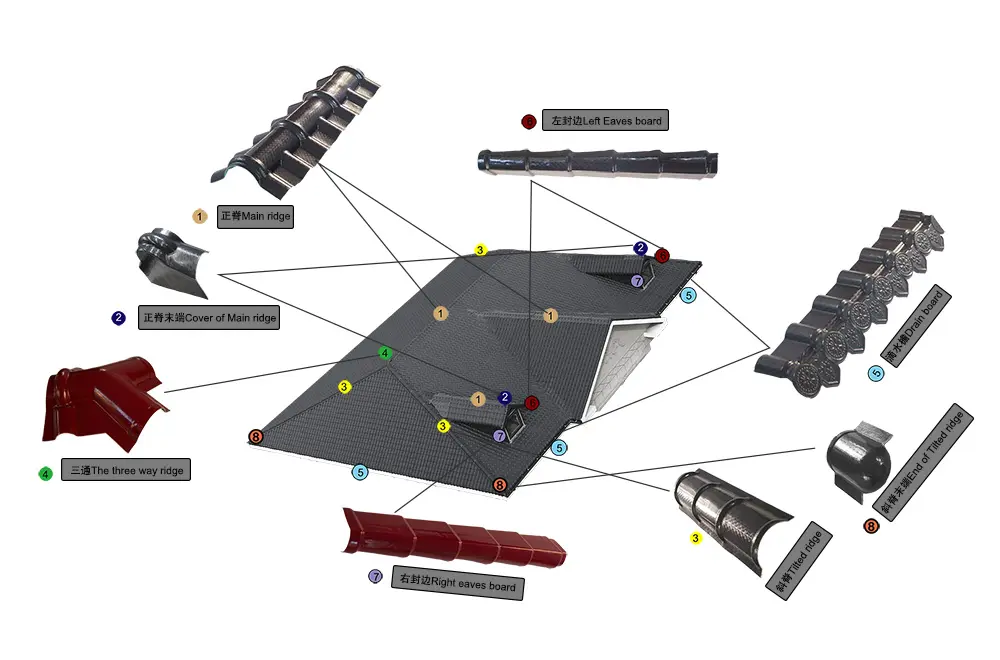
Accessories
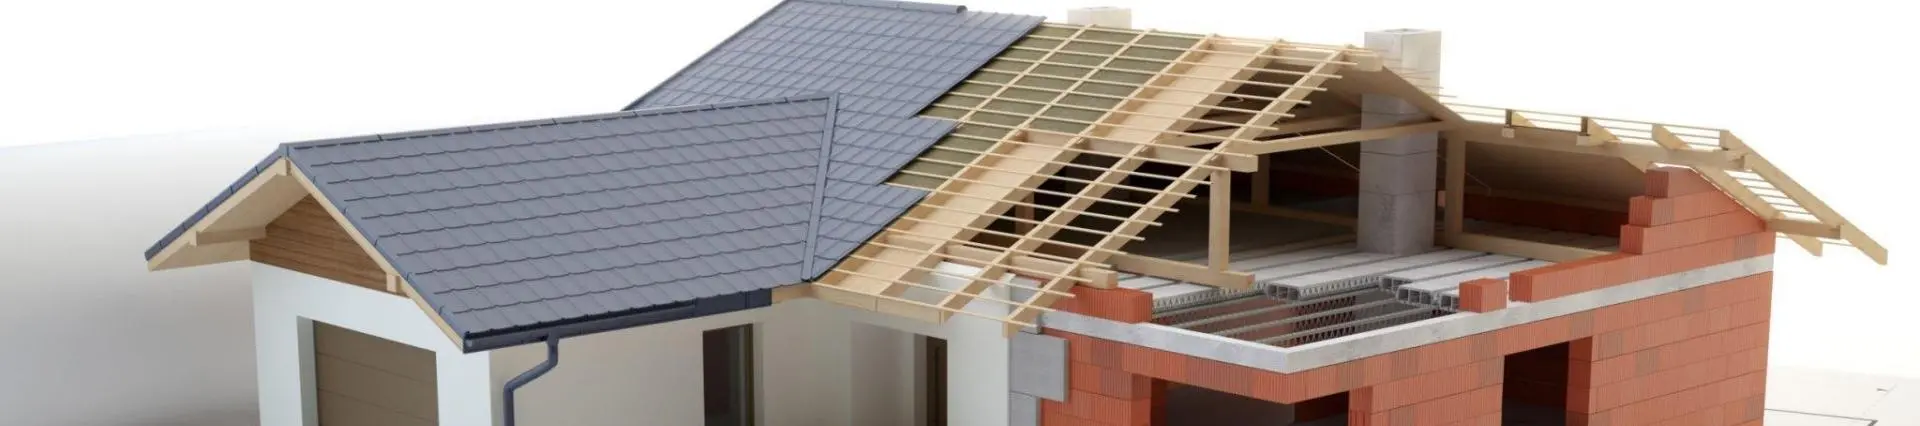
Installation
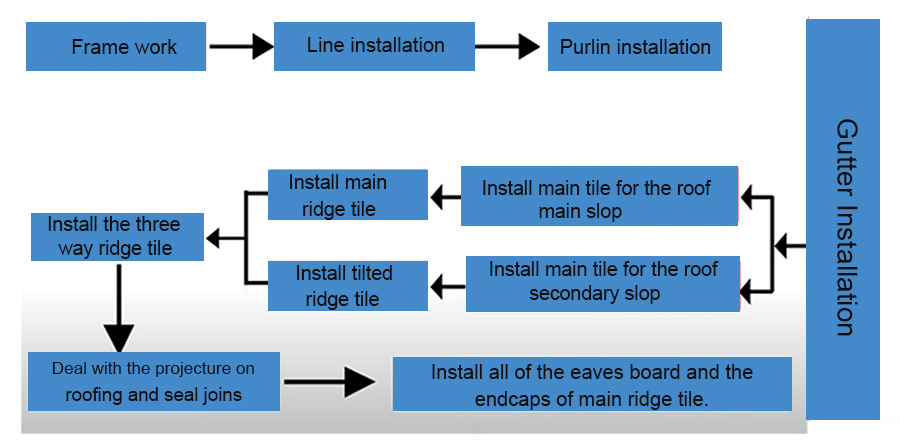
1. We suggest the roofing slope angle is between 20-80 degree.
2. Line.Installation should be arranged in advance in order to ensure smooth and beautiful.
3. Install purline. Purline size suggest square tube(60mm*40mm*3mm), or Section steel (100mm* 50mm*3mm) ,or wooden square
(60mm*40mm) . The metal purlins shall be dealed with anti-rust treatment. The wooden square must be treated with anti-corrosion.The space between 2 purlines should be less than 600mm. The uppermost purlin is 150mm away from the roof ridge line, which is convenient for the installation of main ridge tiles, and the lowermost purlin is 50-70mm away from the eaves
4. Deal with the oblique gutter and flashing. Gutter size is according to the project building size at site. Fix the oblique gutter on purline.
5. Install main tile for the roof main slope. Roof tile installation on main slope should use the right fixing tools. Use electric drill to make holes and keep hole diameter 2mm bigger than screw. Tapping screws with diameter of 6.3mm is recommended. It can't fix too hard to tight.When install roof tile,it should be opposite to local wind direction. T wo slope installation at the same time. Ensure the main ridge tile installation without any problem.
6. Install main tile for the roof secondary slope. Roof tile installation on secondary slope. Set the central line of triangle slop as a bench mark. Installation is from the bench mark to both sides avergely. Cutting a long with the Hypotenuse of the triangle slope,In prepareaiton of installing tilted ridge tile. Make sure no obvious gap between 2 slops.
7. To install the main ridge tile, be sure to install it sequentially from one side to the other,to avoid overlap on two main sheet.
8. Install the tilted ridge roof tile. When install the tilted ridge tile must fix on main tile purline. The overlap place for 2 tilted ridge at least 90mm
9. Install the three way ridge tile. Connect three side slope roofing. Fix on the top of main ridge and 2 tilted ridge.
10.Install the cover of tilted ridge.
11.Deal with the projecture on roofing and seal joins
12.Install all of the eaves board and the endcaps of main ridge tile.
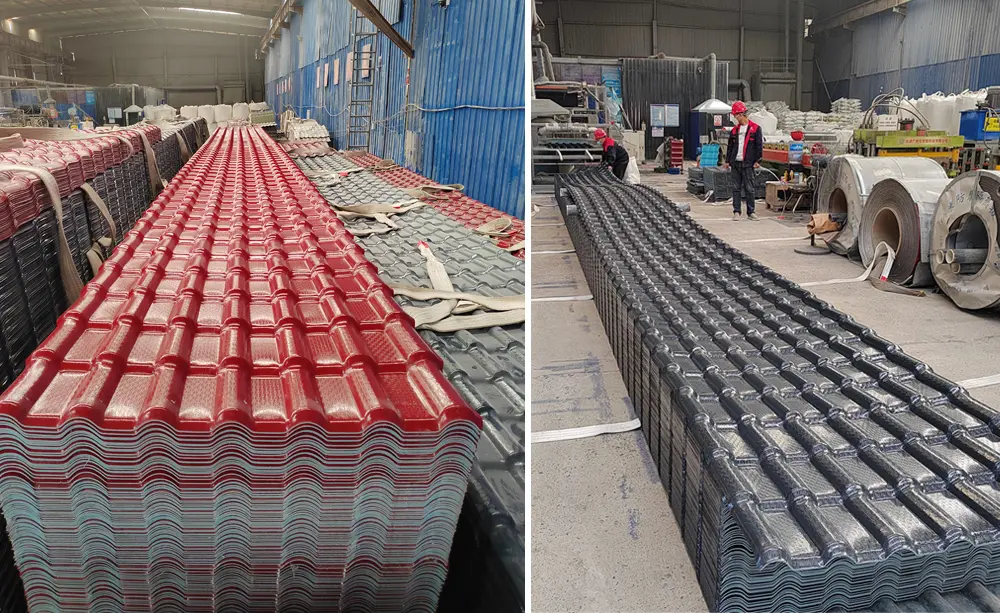
Project case

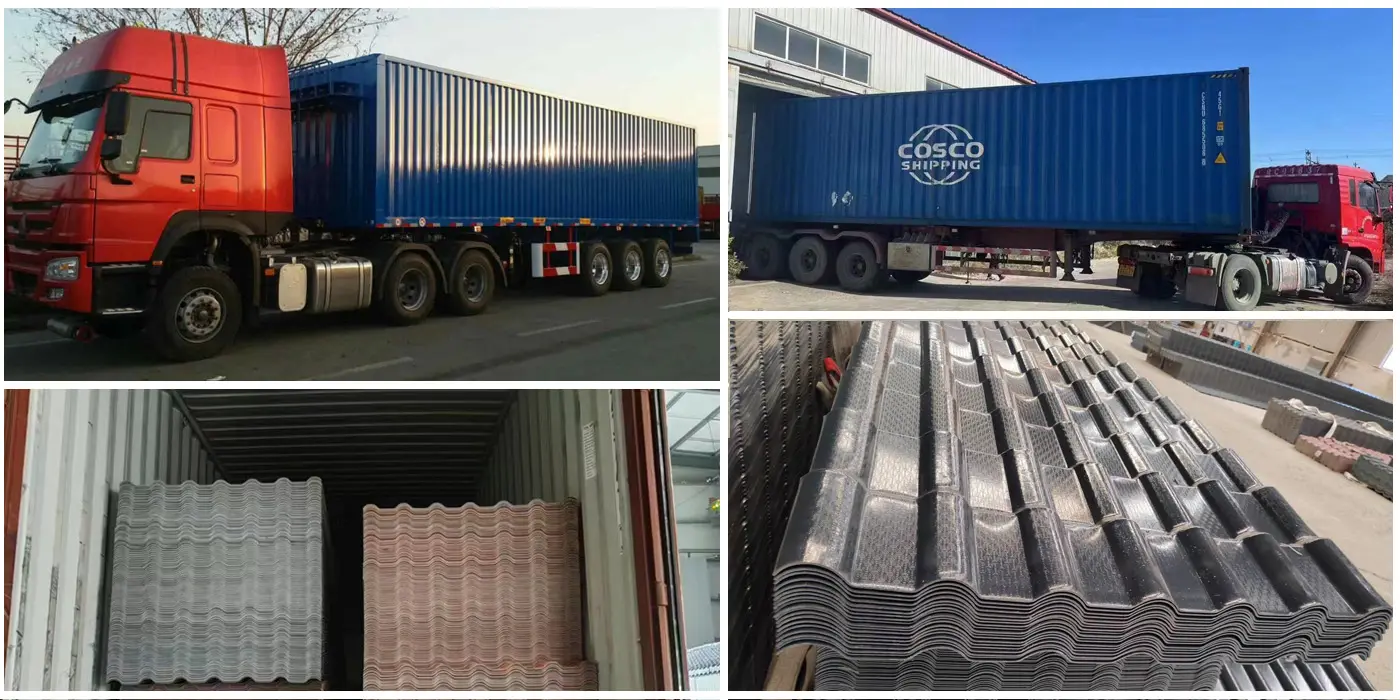
Packing and shipping