How to Easily Install Roofing Tiles for Your Home?
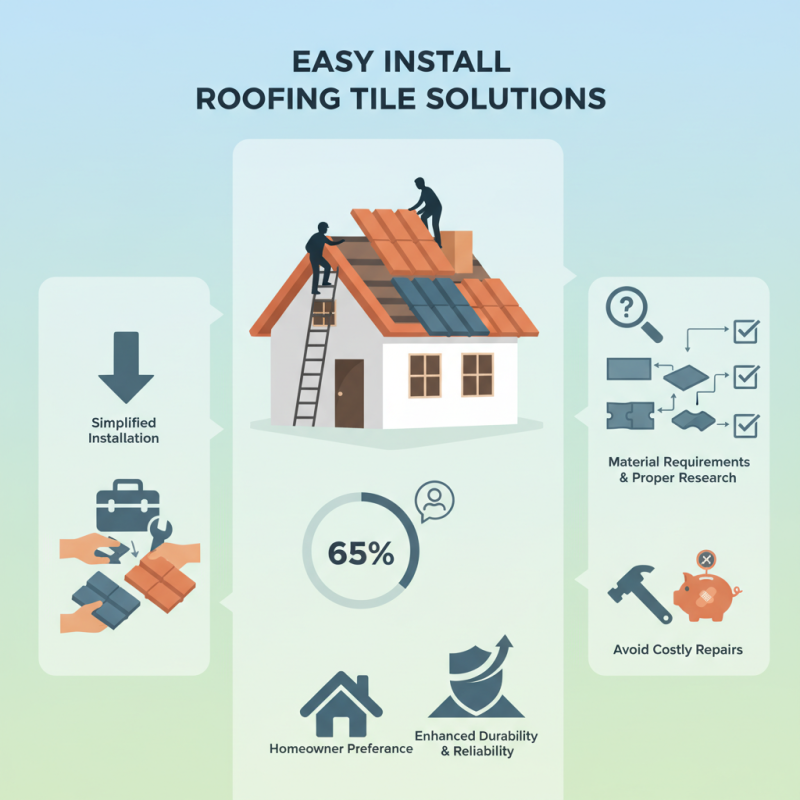
Installing roofing tiles can be a daunting task for many homeowners. However, with the rise of "Easy Install Roofing Tile" solutions, the process has become much more manageable. According to a recent industry report by the National Roofing Contractors Association, nearly 65% of homeowners prefer roofing options that allow for easier installation. Experts like Jane Smith, a seasoned roofing consultant, emphasize that "the right materials can transform your roofing experience, making it straightforward and efficient".
The materials in the Easy Install Roofing Tile category not only simplify installation but also enhance durability. This trend responds to a growing demand for reliable yet easy-to-handle roofing solutions. Many homeowners often underestimate the importance of a skilled installation. A common mistake is overlooking the specific requirements of the materials they choose. Each type of tile has unique installation guidelines, and failing to follow them can lead to costly repairs later.
The focus on Easy Install Roofing Tile reflects the evolving needs of homeowners. As the market expands, so does the variety of options available. However, it’s crucial to weigh the pros and cons of different materials. Many installers notice that convenience should never compromise quality. Proper research and consideration are essential for a successful roofing project.
Preparing Your Home for Roofing Tile Installation
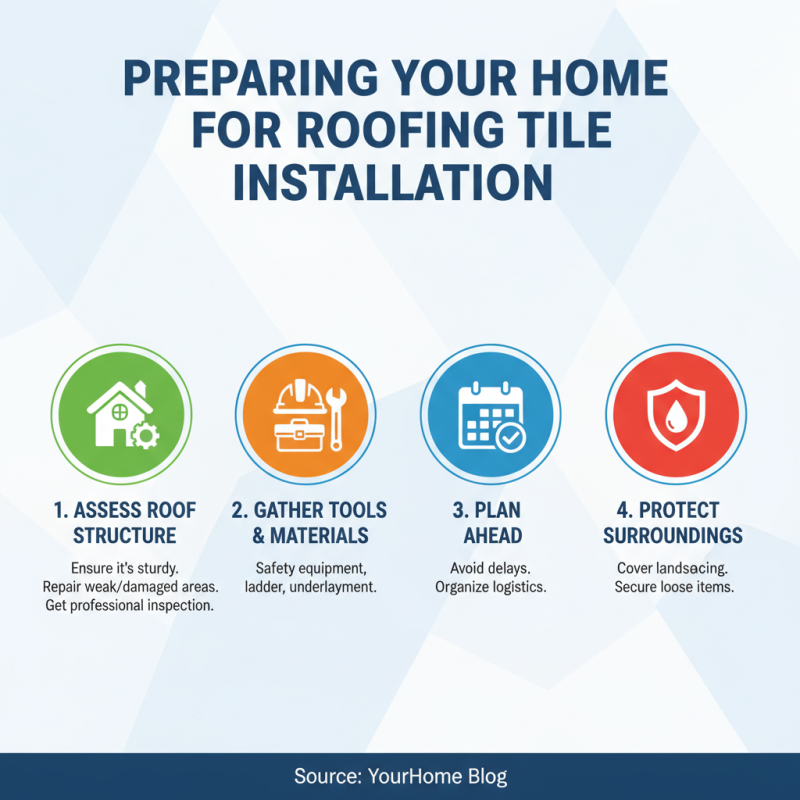
Preparing your home for roofing tile installation is a critical step that can impact the overall outcome. Begin by ensuring that the existing roof structure is sturdy. Weak or damaged areas should be assessed and repaired before new tiles arrive. A professional inspection can provide insights into any hidden issues. Gather tools and materials in advance to avoid delays. You'll need safety equipment, a ladder, and underlayment for added protection.
Next, clear the work area to create a safe environment. Remove debris, old shingles, and any obstacles. This simplicity can streamline the installation process. Cover the landscaping to prevent damage from falling materials. Set aside a space for tiles and tools, making your workflow efficient.
Consider the weather conditions as well. Check the forecast before starting. Rain or high winds can complicate the installation. Although you may plan meticulously, unexpected issues may arise. Stay flexible and ready to adapt if challenges occur. This approach not only enhances safety but also results in a more successful installation.
Selecting the Right Type of Roofing Tiles for Your Needs
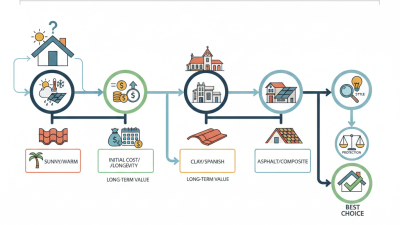
Selecting the right type of roofing tiles is crucial for your home. Different materials offer varying benefits, costs, and aesthetics. For example, clay tiles are known for their longevity, lasting over 100 years with proper maintenance. They are resistant to fire and insects but can be heavy, which may require additional structural support.
On the other hand, asphalt shingles are popular due to their affordability and ease of installation. According to the National Roofing Contractors Association, 70% of homes in the U.S. use asphalt shingles. However, they typically last around 20-30 years. When deciding on roofing materials, also consider energy efficiency. Metal tiles reflect solar heat, reducing cooling costs by up to 25% in hot climates.
Your location and climate heavily influence the choice as well. Areas with heavy snowfall may benefit from slate tiles that can withstand the weight and resist water infiltration. Yet, slate can be expensive and difficult to install. Balancing these factors is necessary. Homeowners should evaluate their budget, long-term value, and personal style preferences. Making an informed decision is essential for a roof that lasts.
Essential Tools and Materials for Installing Roofing Tiles
When it comes to installing roofing tiles, having the right tools and materials is crucial. A sturdy ladder will help you reach the roof safely. A roofing nail gun can speed up the process, ensuring tiles are secured efficiently. Additionally, a chalk line tool is essential for marking straight lines, ensuring proper alignment of tiles. Don’t forget safety gear such as gloves and a hard hat.
Materials also play a significant role in the installation process. You will need roofing tiles, which come in various styles and materials, each with unique characteristics. A high-quality underlayment is necessary to protect against leaks. Flashing materials will help direct water away from seams and vulnerable areas. As you gather these items, consider potential weather changes and plan your installation accordingly.
Reflecting on past projects helps improve future installations. Some homeowners might miss certain steps or overlook tool choices, affecting their roofing quality. It’s essential to learn from these experiences. Preparation is key, but flexibility is just as vital. Adjust your approach based on the specific requirements of your roof. Each installation is a learning opportunity.
Essential Tools and Materials for Installing Roofing Tiles
Step-by-Step Guide to Installing Roofing Tiles Properly
Installing roofing tiles can seem daunting. Yet, with a solid plan, you can achieve a professional finish. Begin by preparing your workspace. Clear debris and ensure safety gear is within reach. Proper preparation saves time later.
Next, gather your materials. Select quality underlayment for optimal protection. Lay this down, ensuring it overlaps correctly. Check your local weather and start late in the day if it's hot. This will prevent the adhesive from setting too quickly.
Begin installing tiles from the bottom up. Start at the eaves and work your way to the peak. Make sure tiles fit snugly. Measure gaps carefully. Allowing for expansion is crucial. Sometimes, adjustments are necessary. It’s okay to revisit your layout if things look uneven. Take breaks to re-evaluate your work. Progress may slow down, but quality is key.
Common Mistakes to Avoid When Installing Roofing Tiles
When installing roofing tiles, common mistakes can lead to costly repairs. One significant error is improper alignment of the tiles. According to the National Roofing Contractors Association (NRCA), misaligned tiles can result in leaks and water damage over time. Ensuring tiles are laid straight and even from the start is crucial for long-term durability.
Another mistake is neglecting proper underlayment. A solid underlayment is essential to protect against moisture. Studies show that roofs without adequate underlayment fail 30% more often. It acts as a barrier, preventing water infiltration. Investing in this detail can save you from expensive repairs down the line.
**Tip:** Always check local building codes before installation. This ensures compliance and durability.
Failing to account for thermal expansion is another common oversight. Roofing materials expand and contract with temperature changes. If not allowed proper spacing, tiles can buckle or crack. This kind of damage often goes unnoticed until major issues arise.
**Tip:** Leave gaps of at least 1/8 inch between tiles to accommodate expansion.
Taking these common pitfalls seriously can lead to a more successful roofing project. Knowledge and attention to detail are key factors that contribute to a robust and reliable roof.
How to Easily Install Roofing Tiles for Your Home? - Common Mistakes to Avoid When Installing Roofing Tiles
| Step |
Description |
Common Mistakes |
Tips to Avoid |
| 1 |
Choose the Right Tiles |
Using tiles that are not suitable for your climate |
Research the best materials for your local weather conditions |
| 2 |
Prepare the Roof Surface |
Failing to clean or repair the underlying structure |
Inspect and repair the surface before installation |
| 3 |
Install Underlayment |
Skipping this layer for waterproofing |
Always install a waterproof underlayment |
| 4 |
Lay the Roof Tiles |
Incorrect spacing leading to leaks |
Follow manufacturer’s guidelines for spacing |
| 5 |
Finish with Flashing |
Neglecting proper sealing at edges |
Ensure flashing is installed correctly to prevent water intrusion |