How to Easily Install Roof Tiles Like a Pro?
Installing roof tiles can be daunting. However, with the right guidance, you can achieve an "Easy Install Roof Tile" experience. Imagine transforming your home with beautiful, sturdy tiles. This task often seems reserved for professionals. But, you can nail it too.
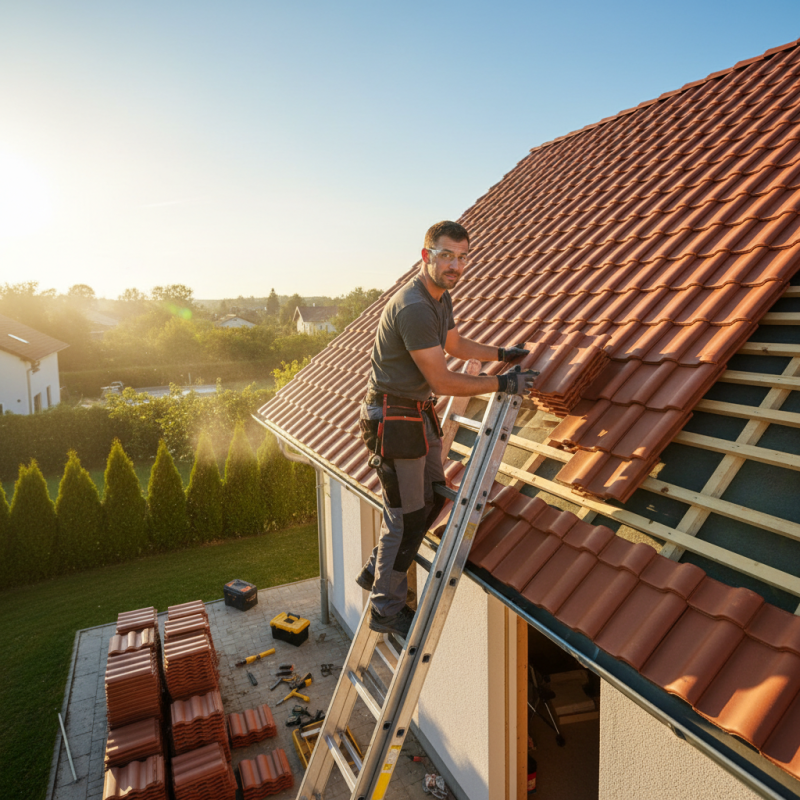
Picture yourself atop a ladder, tiles in hand. The sun shines, and you feel a mix of excitement and nerves. Will you align them perfectly? Mistakes can happen. Perhaps you underestimated the time needed. Each tile needs precision. Even a small error can lead to leaks.
Don’t be discouraged by potential challenges. Learning is part of the process. Step by step, you’ll discover tricks to make installation smoother. In the end, your efforts will shine. The joy of completing the roof yourself is unmatched. You’ll feel a sense of accomplishment, even if things didn't go perfectly. Embrace the journey!
Tools and Materials Required for Roof Tile Installation
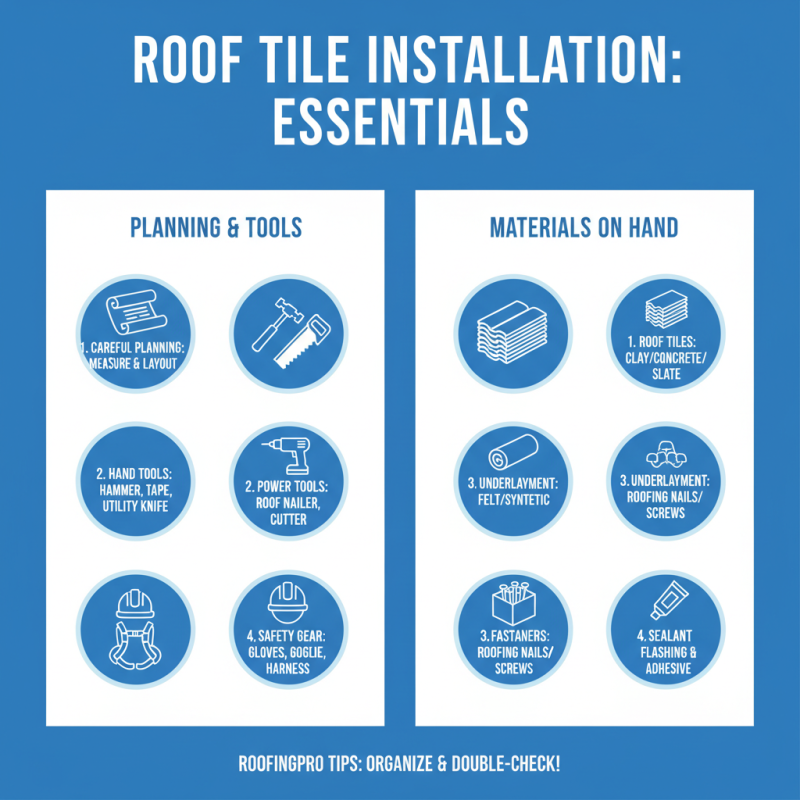
Installing roof tiles requires careful planning and the right tools. Having the right materials on hand can make the task easier. Here’s a breakdown of what you will need.
Tools needed include a hammer, roofing nails, and a tile cutter. A ladder is essential for reaching up high. Safety is a priority, so wear gloves and a helmet. Measure twice and cut once is a simple yet effective rule to remember.
For materials, choose tiles that suit your roof type. You’ll need an underlayment for moisture protection. Don’t forget about flashing, which helps divert water away. It’s easy to overlook little details. Missing a small part can lead to bigger issues later.
Tips: Check the weather before you start. Rain can complicate the installation process. Begin with a solid plan. Improvising can lead to mistakes. Ensure that all tools are in good condition. A broken tool can slow down the work and cause frustration. Every small step matters.
Preparing the Roof Surface: Inspection and Cleaning
Before installing roof tiles, preparing the roof surface is crucial. A thorough inspection can save time and resources. According to industry reports, around 30% of roofing failures are due to improper surface preparation. If your roof has debris, damage, or moisture issues, it can lead to significant problems later.
Clean the roof surface meticulously. Remove leaves, dirt, and old shingles. Use a pressure washer for stubborn grime, but be cautious. Too much pressure can damage existing materials. Pay attention to areas prone to moisture accumulation. Mold or mildew can compromise the integrity of your new tiles. Sometimes, hidden damage may appear only after cleaning. This requires further inspection and potentially costly repairs.
Inspect the deck for rot or weak spots. Around 25% of roofs exhibit some form of decking deterioration. This often goes unnoticed during initial inspections. Addressing these issues before tile installation is essential for longevity. You might find yourself questioning the overall stability. These reflections can help ensure a robust foundation for your new tiles.
Step-by-Step Installation Process of Roof Tiles
Installing roof tiles can seem daunting, but a systematic approach simplifies the process. Start by gathering essential tools like a hammer, tile cutter, and safety gear. Measure the roof area accurately. This prevents material waste and ensures a snug fit. Using chalk lines, mark guidelines on your roof. This step is crucial; misalignments can lead to leaks down the road.
Lay the first row of tiles carefully, ensuring each piece interlocks properly. Secure them in place with appropriate fasteners. If you notice any tiles that aren’t sitting right, don’t rush. Adjusting them now can save you trouble in the future. As you work your way up, keep checking your alignment. A small oversight can lead to uneven rows and a less secure roof.
When reaching the peak, choose tiles designed for finishing. Overlooked details can affect the roof's aesthetic and functionality. Always remember to clean up debris and sharp tile shards. This will keep your workspace safe. The installation can be tricky. Each step needs focus and patience. Don’t hesitate to seek help if you feel overwhelmed at any point.
How to Easily Install Roof Tiles Like a Pro? - Step-by-Step Installation Process of Roof Tiles
| Step |
Description |
Tools Needed |
Estimated Time |
| 1 |
Prepare the roof surface and ensure it's clean and free from debris. |
Broom, Ladder |
1 hour |
| 2 |
Install underlayment for waterproofing and insulation. |
Underlayment, Hammer, Nails |
2 hours |
| 3 |
Start laying the first row of tiles at the eaves, ensuring proper alignment. |
Roof Tiles, Level, Chalk Line |
3 hours |
| 4 |
Continue laying tiles row by row, interlocking them properly. |
Roof Tiles, Saw (if necessary), Drill |
4 hours |
| 5 |
Finish tiling the roof and inspect for gaps or misalignment. |
Safety Gear, Level |
2 hours |
| 6 |
Clean up the site and dispose of any waste materials responsibly. |
Trash Bags, Broom |
1 hour |
Common Mistakes to Avoid During Roof Tile Installation
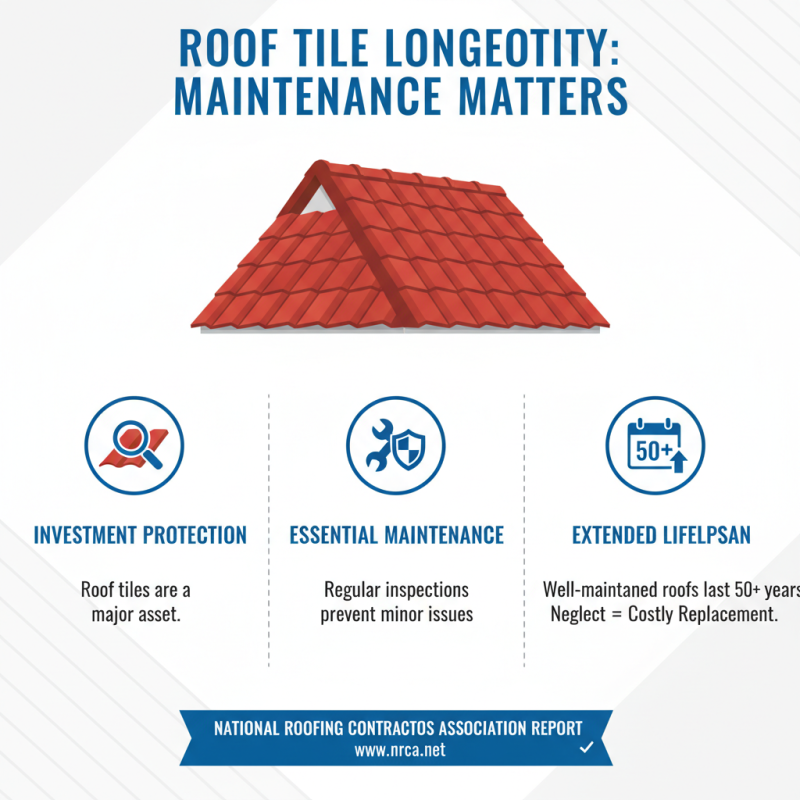
Installing roof tiles can be a straightforward task, yet many homeowners make common mistakes that complicate the process. According to the National Roofing Contractors Association, improper installation can lead to costly repairs, affecting 30% of all roof problems. Small oversights, such as failing to stagger tiles properly, may result in leaks and structural issues.
Tip: Always check the weather. Avoid installation on rainy or extremely windy days. Wet conditions can compromise adhesion, while gusty winds may cause tiles to shift. These factors can lead to premature failures.
Another common pitfall is neglecting to measure accurately. Incorrect measurements can result in misaligned rows or excess waste. Reports suggest that improper measurements account for nearly 25% of all roof tile waste. Precision is key when cutting tiles to fit edges and corners.
Tip: Use a chalk line for guidance. This can help maintain straight lines and prevent misalignment. Take time to double-check your measurements before any cuts. Rushing can lead to mistakes that may require redoing sections.